by
by Quilling, as it is called, is the art of making decorative pieces from paper. Quilling encompasses in itself personalization, uniqueness and delicacy. It’s simple to make, of course with practice and unlike any other things that you will find in the stores. And since you’re making it yourself, you can mix and match, be creative and try unusual combinations. Quilled earrings also make a great gift for your friends and family as you made it yourself which shows thoughtfulness.
So, today we’re going to go in depth and explain to you all about quilling, how it’s done, tools that you will require and so on.
Make Paper Earrings
Tools you will require to get started:
Slotted curling tool- This is the most essential tool as this will help you to curl the paper strips into desired coils and shapes. It will help you to create complicated patterns easily.
Needle Tool- Also known as the Quilling tool, this is the first tool that you will use.
Quilling Paper strips- you will find these paper strips in different sizes but the most common one is 1/8’. You can of course cut these strips yourself but since these are so thin, it’ll be difficult to get it uniform.
Glue- you want to pick a high quality glue as you don’t want your hard work to go to waste because of a cheap glue.
Tweezers- this will be a great help to you when you’ll be working with small pieces of strips.
Toothpicks- these will help you apply glue to small paper strips with ease.
Work-board- you will need a base to make this paper art. You can use a cardboard or cork and cover them with wax paper to keep it clean.
Ruler- This will help you to practice precision when you will be following instructions.
If you’ve just started out with Quilling, you can get yourself a Quilling kit which contains almost all the tools mentioned above.
How to make Quilled Earrings:
Step 1- You can use a slotted tool or a needle tool to start with. For a slotted tool, you will have to thread one end of the strip and then keep rolling it in circular motion.
For needle tools, moisten one end of the strip and using your index finger, start rolling the strip around the needle.
Some shapes are mentioned below:
Step 2- One you roll the strip onto the needle, you can give it your desired shape. Depending upon the kind of earring, you can choose any shape.
Step 3- Once you get the shape; paint a thin layer of sealant to make your earring water resistant. Let it dry completely before working on it any further and then reshape it.
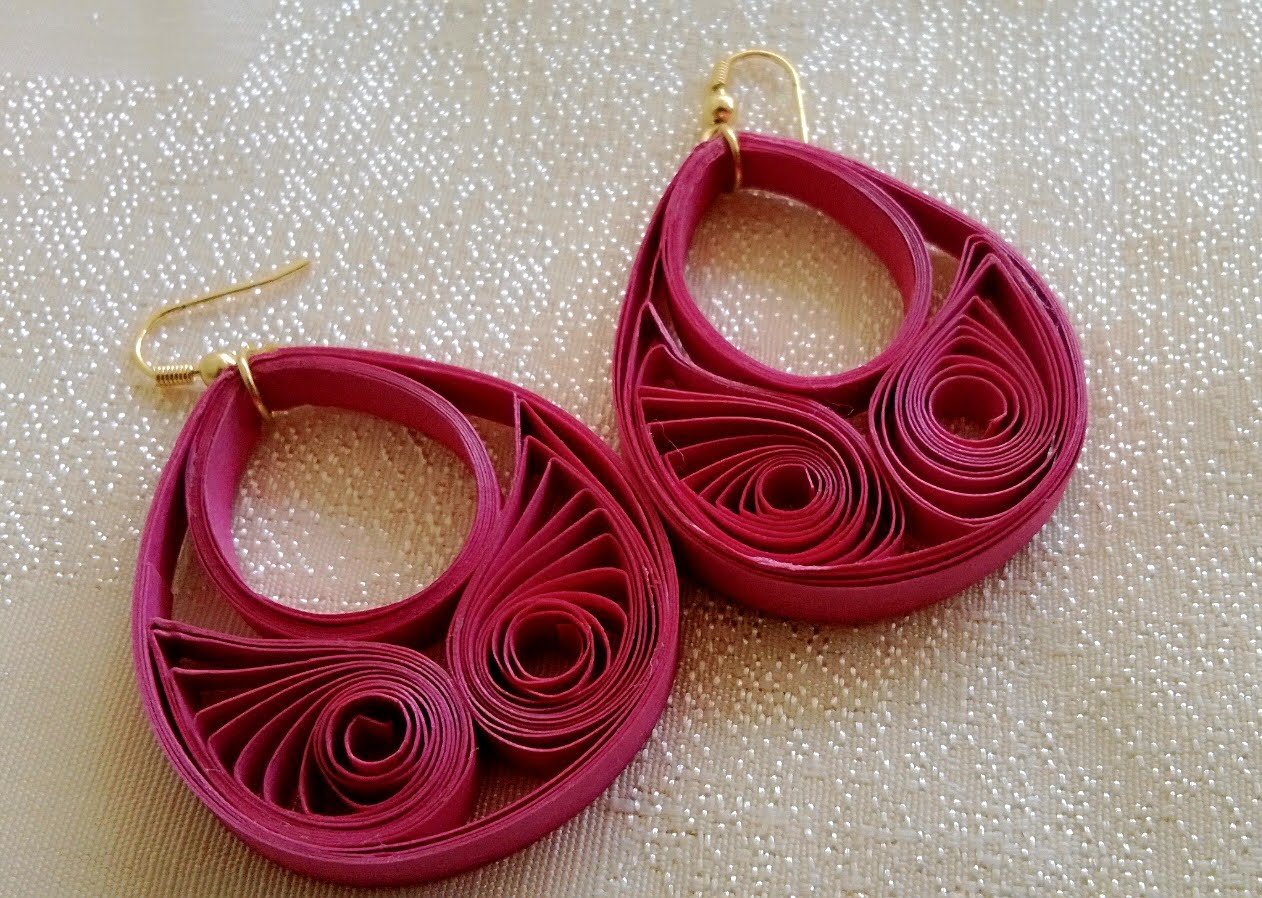
Step 4- Now to finally get them into earrings, attach a pair of earring hooks which are the most convenient. Of course with practice, in no time, you will be able to make complicated designs for your earrings.
So, that was all for a Quelling beginner, hope you get started and make yourself some amazing jewelry.